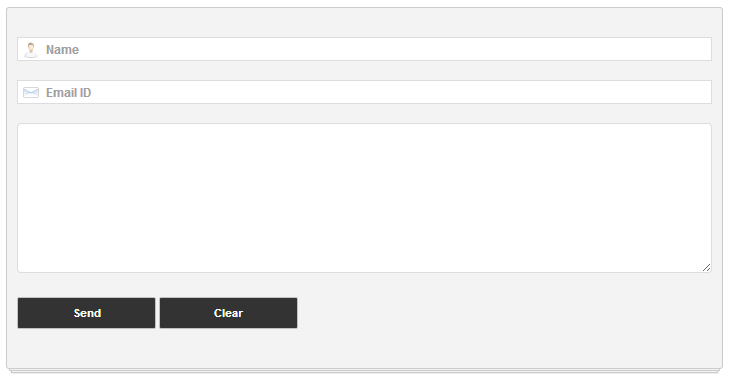
Follow the below steps to move the Contact Form to a separate page. If you would like to see a demo, you can check out my Contact page.
STEP #1: First, add the Blogger Contact Form Widget to your sidebar. My previous tutorial on adding a blogger widget contact form will help you out.
STEP #2: Edit the template (Template > Edit HTML). Now search Ctrl +F for the id "ContactForm", expand the widget by clicking on the black arrow on the left (same with the

Part to be removed:
<b:includable id='main'> <b:if cond='data:title != ""'> <h2 class='title'><data:title/></h2> </b:if> <div class='contact-form-widget'> <div class='form'> <form name='contact-form'> <p/> <data:contactFormNameMsg/> <br/> <input class='contact-form-name' expr:id='data:widget.instanceId + "_contact-form-name"' name='name' size='30' type='text' value=''/> <p/> <data:contactFormEmailMsg/> <span style='font-weight: bolder;'>*</span> <br/> <input class='contact-form-email' expr:id='data:widget.instanceId + "_contact-form-email"' name='email' size='30' type='text' value=''/> <p/> <data:contactFormMessageMsg/> <span style='font-weight: bolder;'>*</span> <br/> <textarea class='contact-form-email-message' cols='25' expr:id='data:widget.instanceId + "_contact-form-email-message"' name='email-message' rows='5'/> <p/> <input class='contact-form-button contact-form-button-submit' expr:id='data:widget.instanceId + "_contact-form-submit"' expr:value='data:contactFormSendMsg' type='button'/> <p/> <div style='text-align: center; max-width: 222px; width: 100%'> <p class='contact-form-error-message' expr:id='data:widget.instanceId + "_contact-form-error-message"'/> <p class='contact-form-success-message' expr:id='data:widget.instanceId + "_contact-form-success-message"'/> </div> </form> </div> </div> <b:include name='quickedit'/> </b:includable> </b:widget><b:widget id='ContactForm1' locked='false' title='Contact Form' type='ContactForm'>
STEP #3: After you have saved the template, go to Pages and paste the following code into a new blank page with the title you want:
<div class='contact-form-widget'> <div class='form'> <form name='contact-form'> <p><p> <input class='contact-form-name' id='ContactForm1_contact-form-name' name='name' size='30' type='text' value='Name' onblur='if (this.value == "") {this.value = "Name";}' onfocus='if (this.value == "Name") {this.value = "";}'/> <p></p> <input class='contact-form-email' id='ContactForm1_contact-form-email' name='email' size='30' type='text' value='Email ID'onblur='if (this.value == "") {this.value = "Email ID";}' onfocus='if (this.value == "Email ID") {this.value = "";}'/> <p></p> <textarea class='contact-form-email-message' cols='25' id='ContactForm1_contact-form-email-message' name='email-message' rows='5'></textarea> <input class='contact-form-button contact-form-button-submit' id='ContactForm1_contact-form-submit' type='button' value='Send'/> <input class='contact-form-button contact-form-button-submit' type='reset' value='Clear'/> <p class='contact-form-error-message' id='ContactForm1_contact-form-error-message'></p> <p class='contact-form-success-message' id='ContactForm1_contact-form-success-message'></p> </form> </div> </div> </div><div class='widget ContactForm' id='ContactForm1'>
Messages will be sent to the same email that you have registered with Blogger.
Styling the Official Blogger Contact Form
It is easy to modify using Style Sheets (CSS) to the appropriate selectors. Here's an example:
To add the style, go to Template > Edit HTML, press
]]>
and paste the code just above it. Save template and you are done.
EmoticonEmoticon